Guide updated:
Prepare a portrait, choose a style and inspect the saved avatar or sticker files.
Practical instructions with desktop and phone screenshots, short demonstrations and answers to common questions.
Before you start
Use a clear JPG, PNG or WebP portrait up to 20 MB and 24 megapixels. Use only photos you have permission to process. Review the current price and provider-processing notice before generation.
Try with a demonstration file — synthetic-portrait.png

These small files were created for this guide and contain no personal data.
Step-by-step instructions
-
Choose a clear portrait photo you have permission to use. Wait for the reference preview and check the visible face.
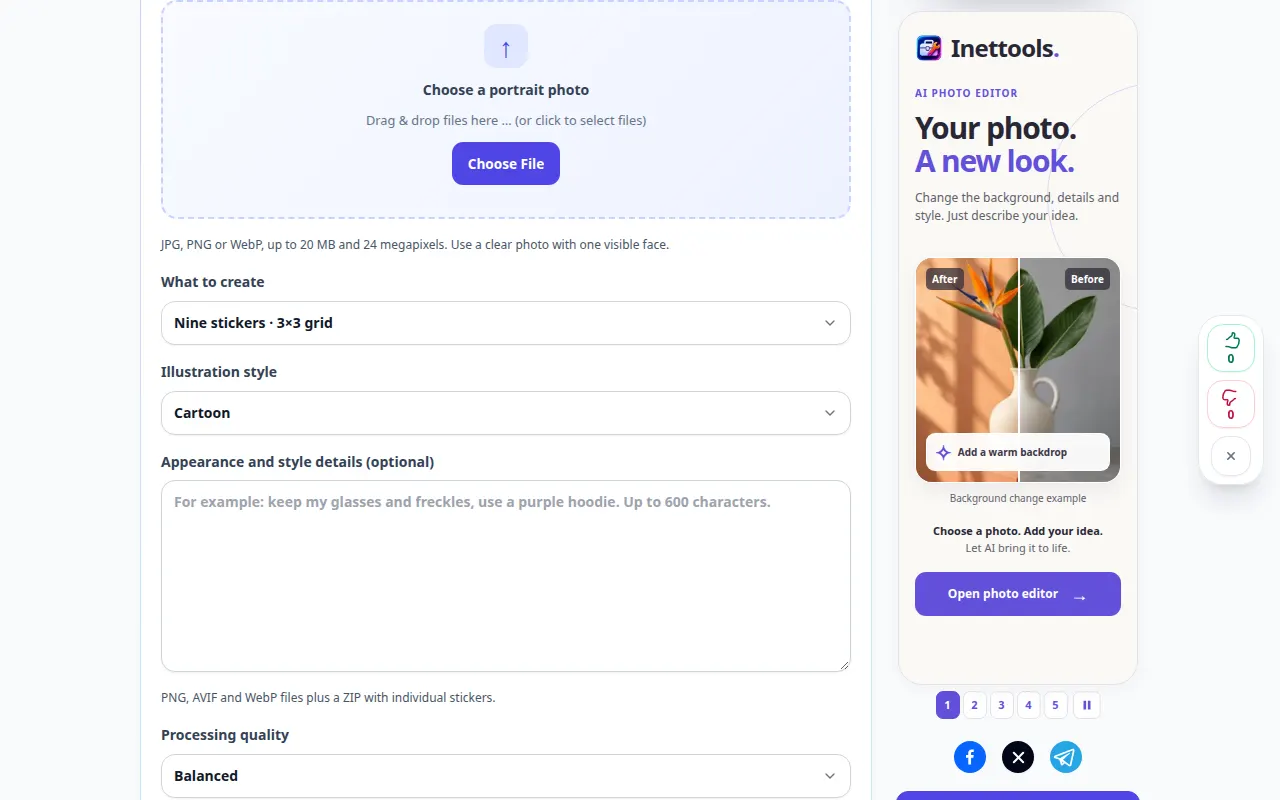
Selecting the source 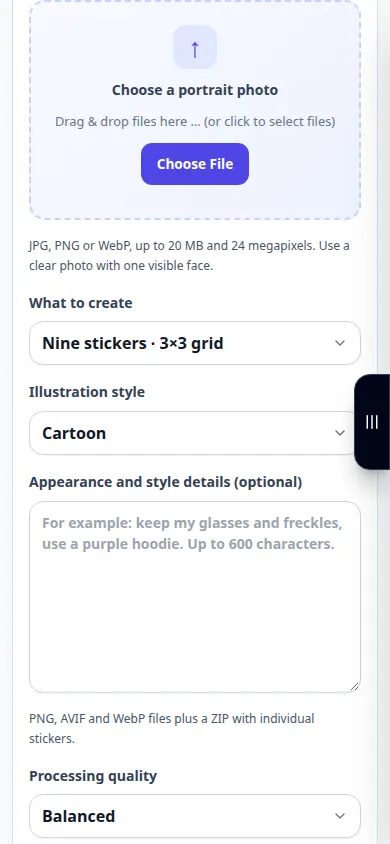
Selecting the source -
Choose one avatar, four stickers or nine stickers. Select an illustration style and add short appearance details if needed.
-
Review the available quality and current price. Read the notice about sending your portrait and instructions to an AI provider.
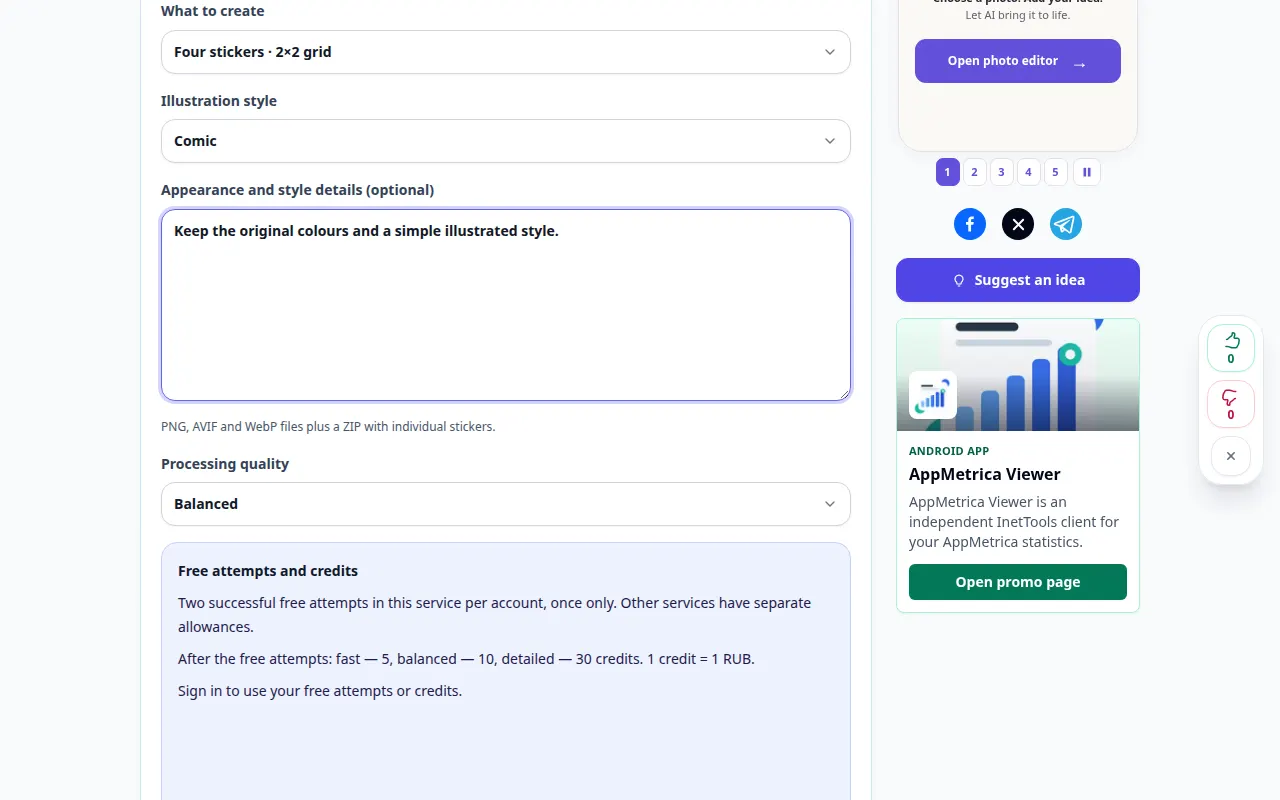
Settings and next action 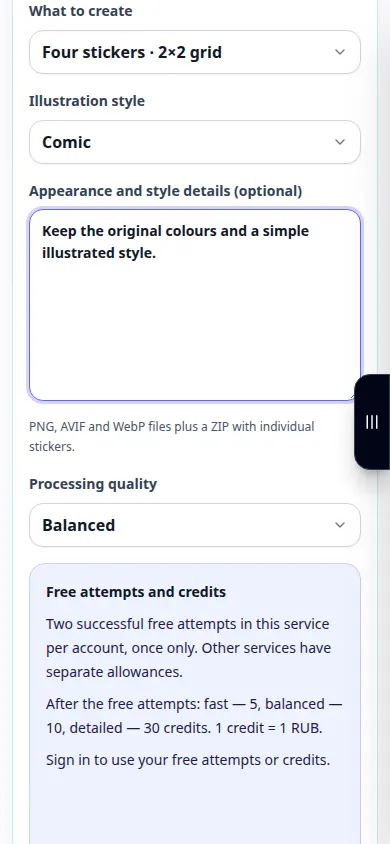
Settings and next action -
Sign in if requested and start generation once. If confirmation is delayed, retrieve the same request rather than creating a new one.
-
Inspect the face, transparent edges and every sticker. AI can change features; ZIP exports do not install a sticker pack automatically.
-
Save the PNG or available individual files and archive. Import them with a compatible app; animation is available only where the interface explicitly permits it.
On a computer
Compare the source preview and settings before starting. Inspect the saved image at a useful zoom after processing.
On a phone
Choose photos from the device file picker. Review each preview, then scroll through the settings before starting. Keep the tab open while processing.
In Safari on iPhone, open the sharing menu and choose Save to Files if the result opens in a new tab. In Android Chrome, check Downloads. Keep this tab open until processing finishes.
For a better result
A ZIP contains files for manual import, not an automatically installed or approved platform pack. Animation is restricted to the accounts where it is explicitly offered.
Screenshots and video
Desktop demonstration
This recording shows the source and available settings before the main action. Follow the steps above to start processing and save the result.
Phone demonstration
This recording shows the source and available settings before the main action. Follow the steps above to start processing and save the result.
Questions and troubleshooting
Does generation keep every original detail?
No. AI may change features and small details. Inspect the result before publishing it.
What if the result is not confirmed?
Use the recovery control with the same reference files and settings. Do not repeatedly start new generations while the original request is uncertain.
If you see a message that the service is overloaded, wait and try again later. A failed attempt does not mean that your source file has changed.