Guide updated:
Bring recordings closer to a chosen loudness target while checking peaks and listening quality.
Practical instructions with desktop and phone screenshots, short demonstrations and answers to common questions.
Before you start
Choose a readable audio source and keep a backup. Loudness normalization is not the same as removing noise.
Try with a demonstration file — audio.mp3
These small files were created for this guide and contain no personal data.
Step-by-step instructions
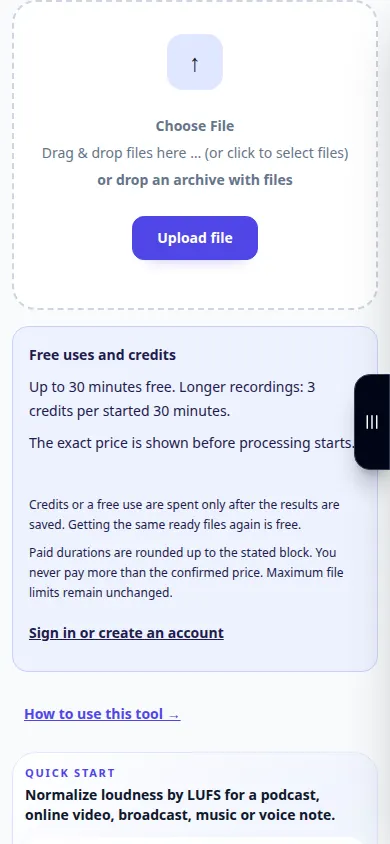
- Choose the audio file and wait for the loudness controls or analysis.
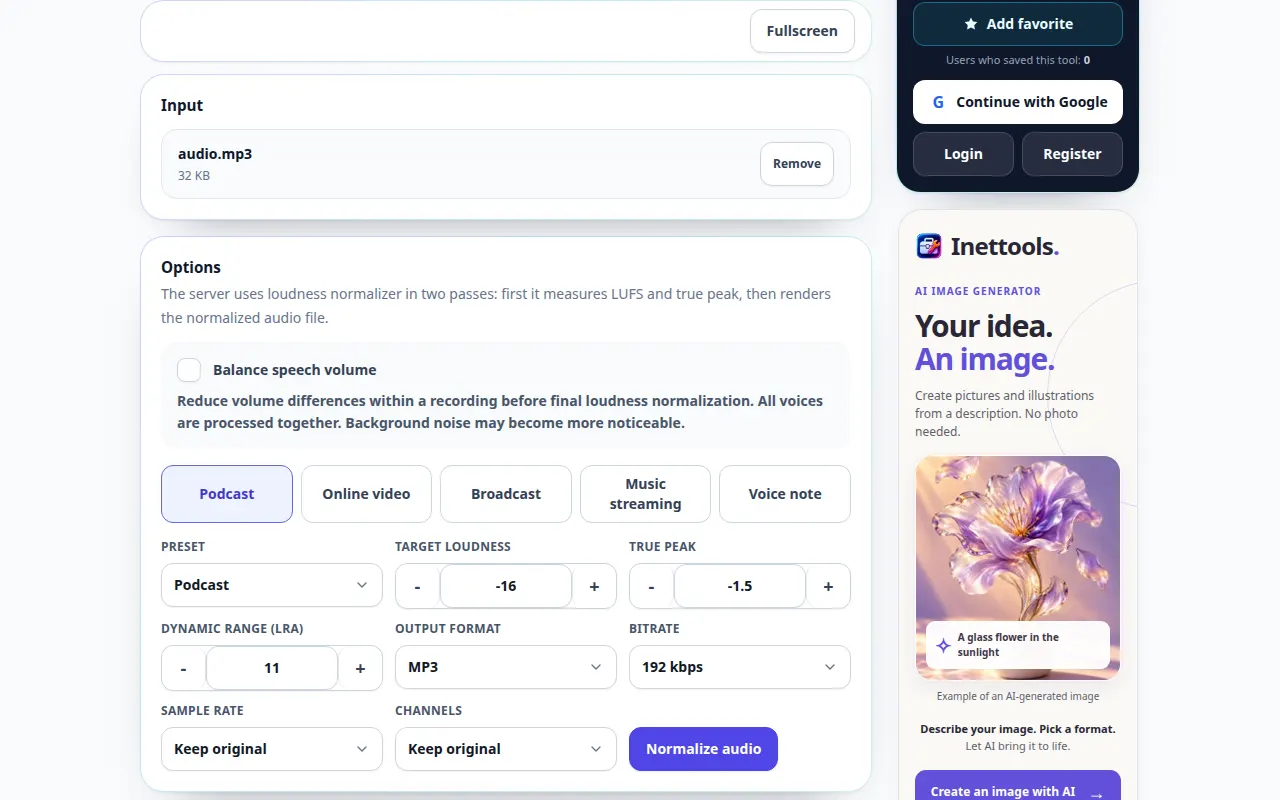
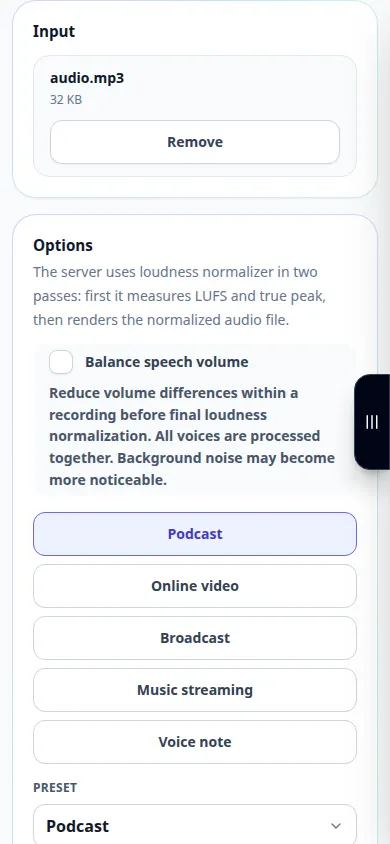
- Review the available target loudness and peak settings.
- Select a supported output format and keep a moderate target to avoid unnecessary distortion.
- Review any displayed charge and start processing.
- Compare the result with the source at the same player volume, check for clipping, and save the normalized copy.
On a computer
Use the full-width working panel to compare the source, settings and result. Keep the original file so you can try another setting without replacing it.
On a phone
Choose the source from Files or your device file manager. Scroll down to the settings and result; keep this tab open until the operation finishes.
In Safari on iPhone, open the sharing menu and choose Save to Files if the result opens in a new tab. In Android Chrome, check Downloads. Keep this tab open until processing finishes.
For a better result
A louder result is not automatically better. Leave headroom and compare quiet and loud passages.
Screenshots and video
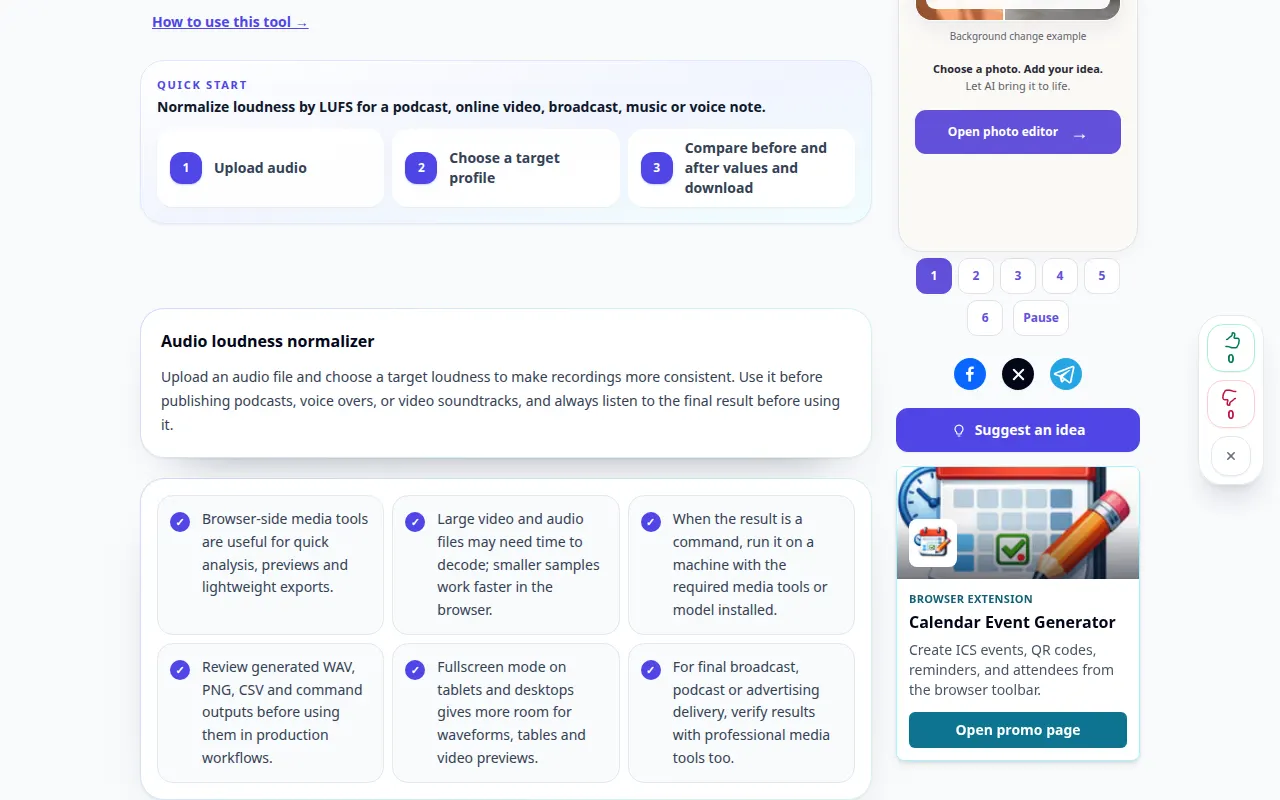
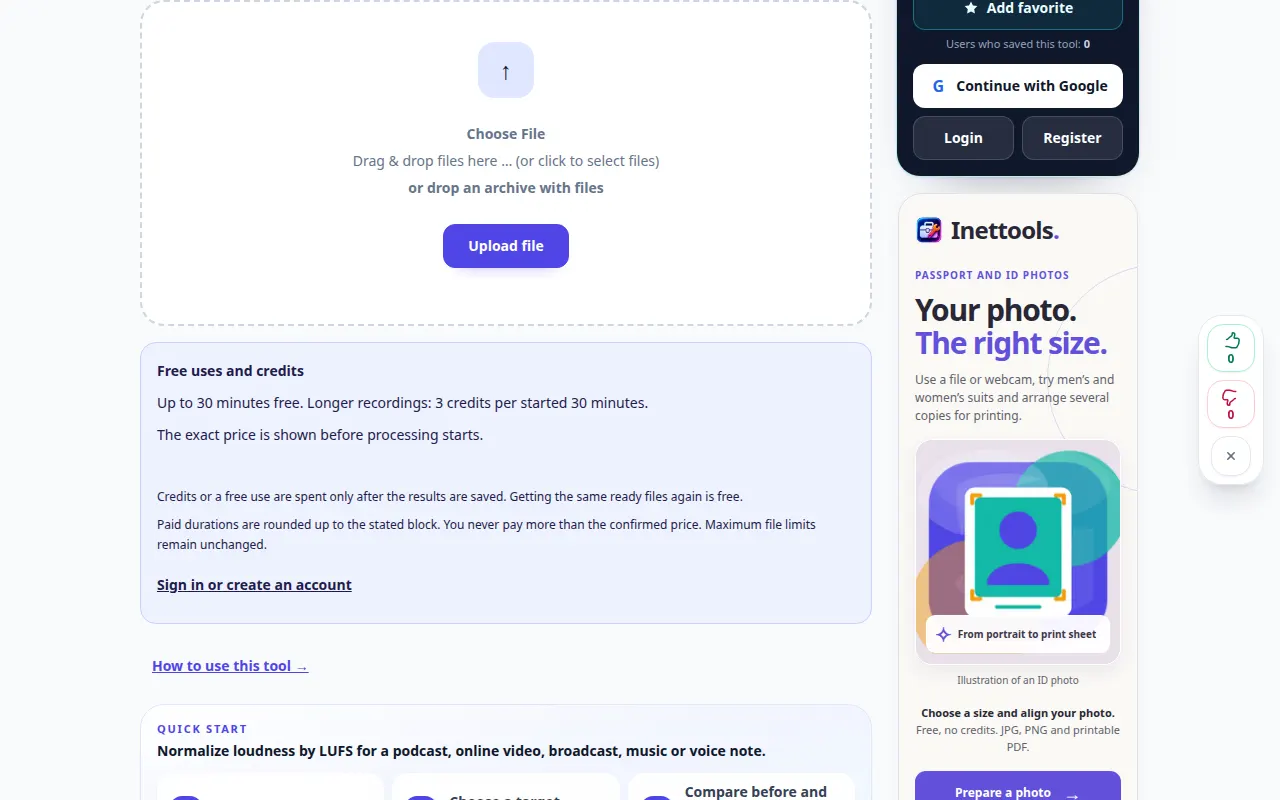
Desktop demonstration
The recording shows the English interface. Follow the translated steps above; the controls are in the same order. This recording shows the source and available settings before the main action. Follow the steps above to start processing and save the result.
Phone demonstration
The recording shows the English interface. Follow the translated steps above; the controls are in the same order. This recording shows the source and available settings before the main action. Follow the steps above to start processing and save the result.
Questions and troubleshooting
Will normalization remove background noise?
It mainly changes loudness and dynamics. Noise may become more audible when quiet material is raised.
Why do two files still sound different?
Different dynamics, frequency balance and silence can affect perceived loudness even after normalization.
If you see a message that the service is overloaded, wait and try again later. A failed attempt does not mean that your source file has changed.