Guide updated:
Add a colored inner, outer or centered outline along an image alpha boundary.
Practical instructions with desktop and phone screenshots, short demonstrations and answers to common questions.
Before you start
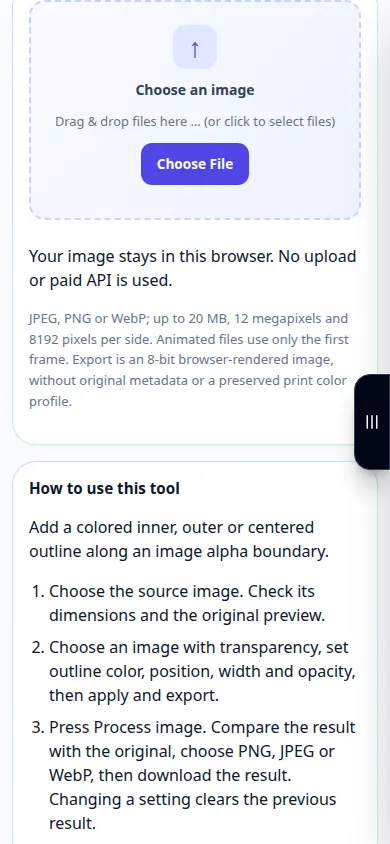
Keep the original image. Choose JPEG, PNG or WebP within the size limits shown above. This tool works locally in your browser; no account or credits are needed.
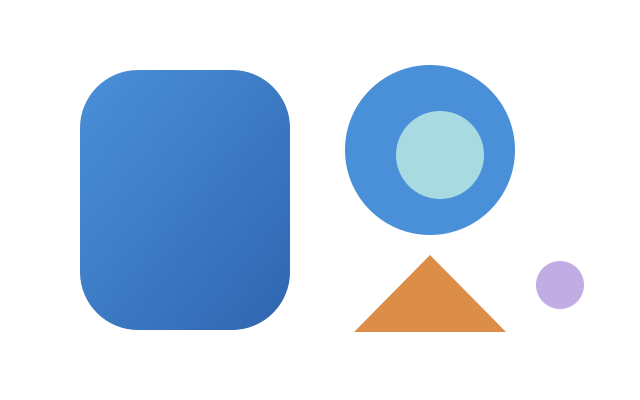
Try with a demonstration file — transparent-shapes.png
These small files were created for this guide and contain no personal data.
Step-by-step instructions
- Keep the original image. Choose JPEG, PNG or WebP within the size limits shown above. This tool works locally in your browser; no account or credits are needed.
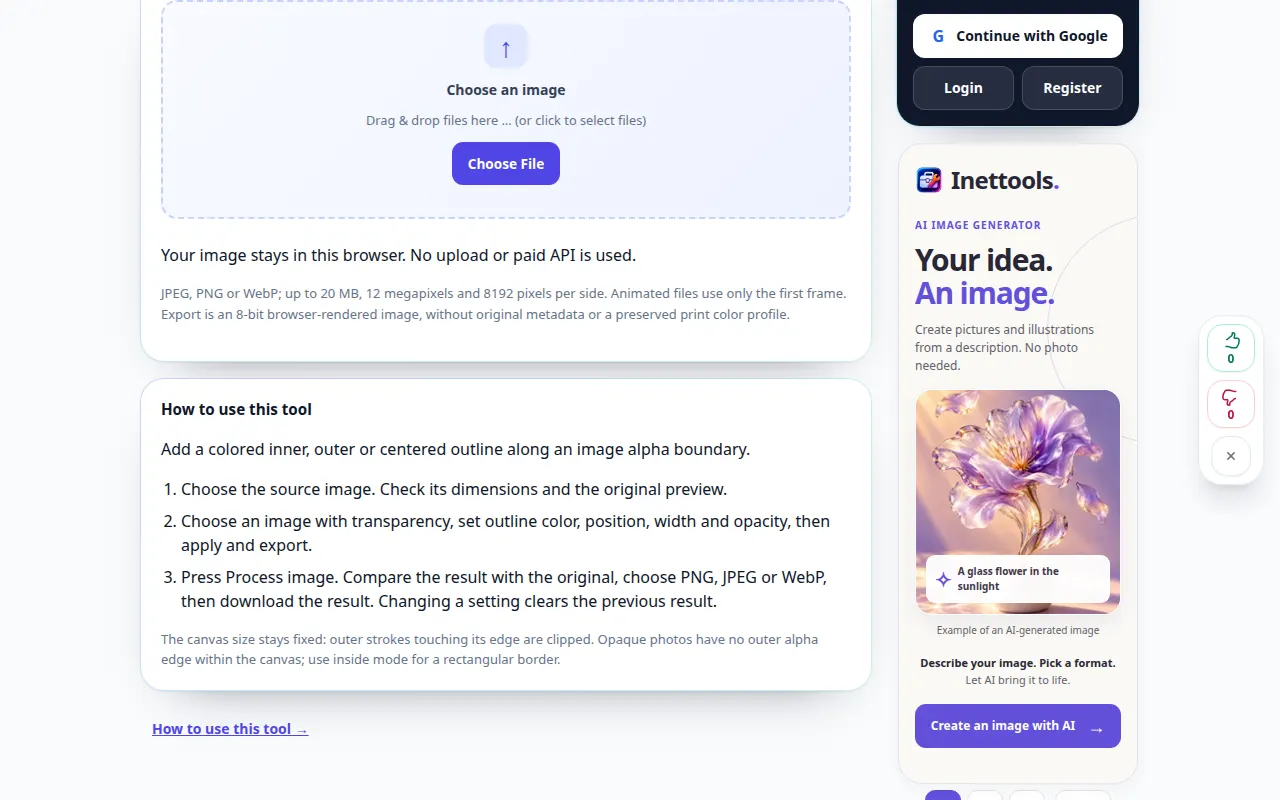
- Choose the source image. Check its dimensions and the original preview.
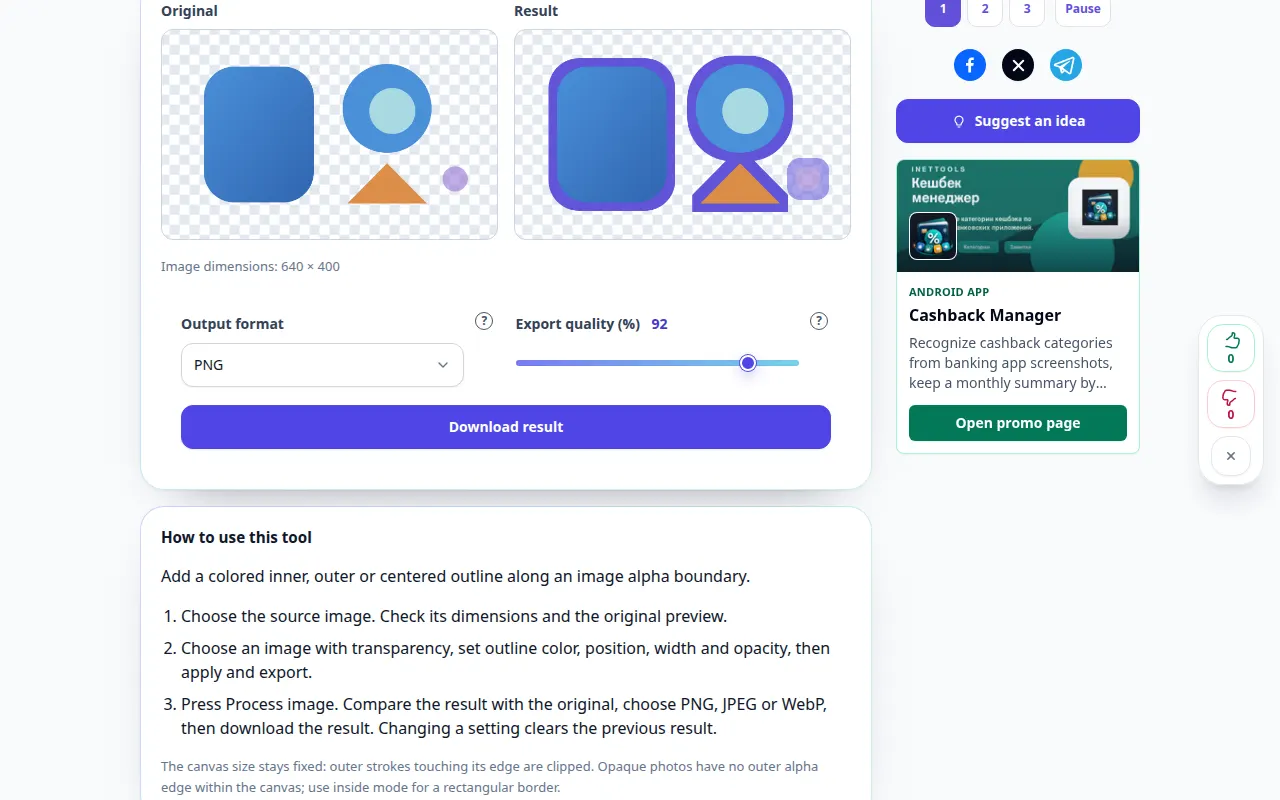
- Choose an image with transparency, set outline color, position, width and opacity, then apply and export.
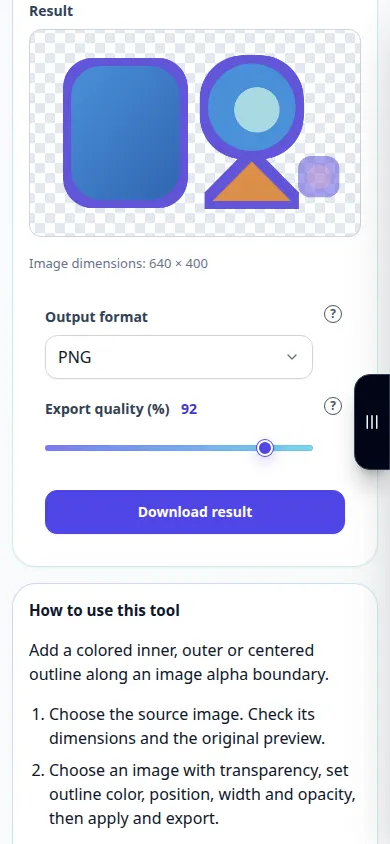
- Press Process image. Compare the result with the original, choose PNG, JPEG or WebP, then download the result. Changing a setting clears the previous result.
- The canvas size stays fixed: outer strokes touching its edge are clipped. Opaque photos have no outer alpha edge within the canvas; use inside mode for a rectangular border.
On a computer
Drag the image into the file area or use the file picker. Use the sliders and arrow keys for precise adjustments. Open the question marks for explanations.
On a phone
Choose a photo from Files or your gallery. Tap a question mark for help. Keep this tab open while processing; save the result before leaving the page.
In Safari on iPhone, open the sharing menu and choose Save to Files if the result opens in a new tab. In Android Chrome, check Downloads. Keep this tab open until processing finishes.
For a better result
The canvas size stays fixed: outer strokes touching its edge are clipped. Opaque photos have no outer alpha edge within the canvas; use inside mode for a rectangular border.
Screenshots and video
Desktop demonstration
The recording shows the English interface. Follow the translated steps above; the controls are in the same order. This recording shows a demonstration input and the resulting output in the tool.
Phone demonstration
The recording shows the English interface. Follow the translated steps above; the controls are in the same order. This recording shows a demonstration input and the resulting output in the tool.
Questions and troubleshooting
Does this recover missing detail or change my original file?
No. Processing creates a new image and leaves the original file unchanged. Clipped highlights, blocked shadows and missing parts cannot be reconstructed by these filters.
Output format
PNG preserves transparency. JPEG uses a white background. WebP support depends on your browser.
If you see a message that the service is overloaded, wait and try again later. A failed attempt does not mean that your source file has changed.