Guide updated:
Choose an enhancement mode, set an enlargement scale and compare the processed image with the original before saving.
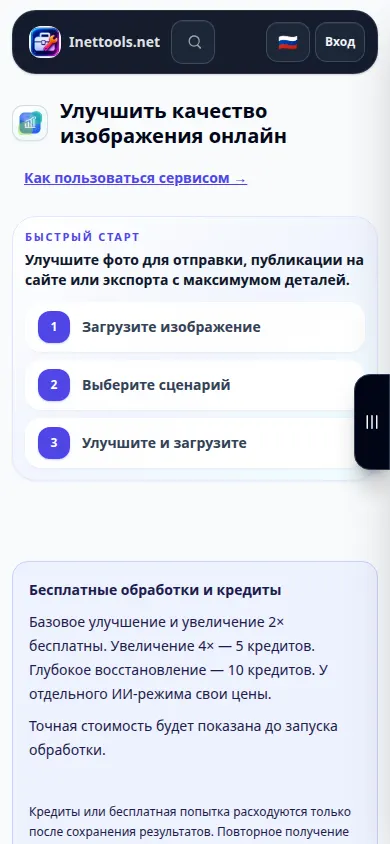
Open this guide using the “How to use this tool” link below the tool name. It includes steps, screenshots and videos for computers and phones.
Before you start
Use the best available original in a supported format such as JPEG, PNG or WebP. A larger original often works better than a compressed messenger copy. Availability, limits and any credit charge are shown by the selected mode.
These small files were created for this guide and contain no personal data.
Step-by-step instructions
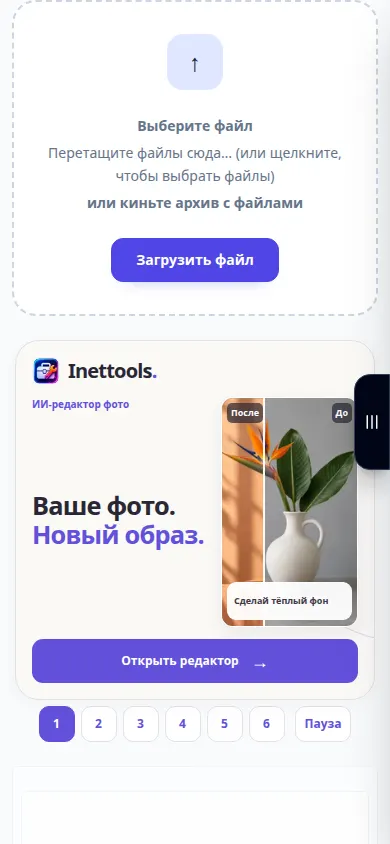
- Choose the source image and wait for its preview and enhancement settings.
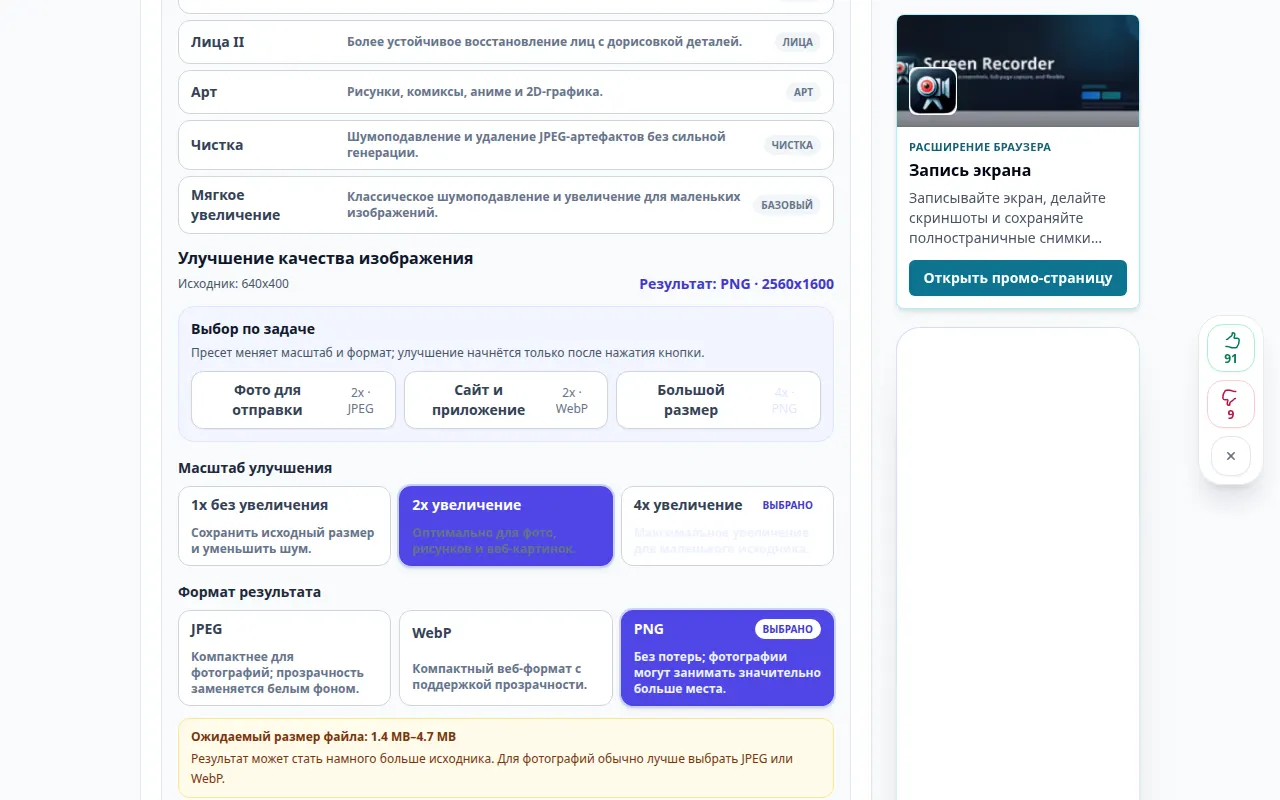
- Start with a gentle available mode, such as Natural for a portrait. Choose an illustration mode for drawings when it is available.
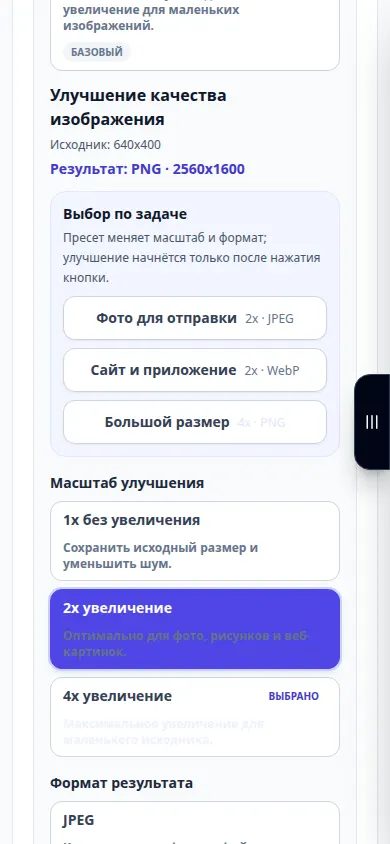
- Select a supported scale. Start with 2× when available; use 1× for supported denoising modes when you want to keep the dimensions.
- Choose the output format. JPEG is practical for photos; PNG preserves transparency but can be larger. Review any displayed price, then start enhancement.
- After processing, move the comparison slider and inspect faces, edges and text. Save the result only after checking those details.
On a computer
Open the comparison at a comfortable size. Inspect a face and a textured area rather than judging only the whole image at a reduced zoom.
On a phone
Choose the original from Photos or Files. Compare a small area at a time and use a moderate scale to keep processing and file size manageable.
In Safari on iPhone, open the sharing menu and choose Save to Files if the result opens in a new tab. In Android Chrome, check Downloads. Keep this tab open until processing finishes.
For a better result
A 4× enlargement adds pixels, but it does not prove that newly visible details are accurate. Strong restoration may alter facial features or lettering.
Screenshots and video
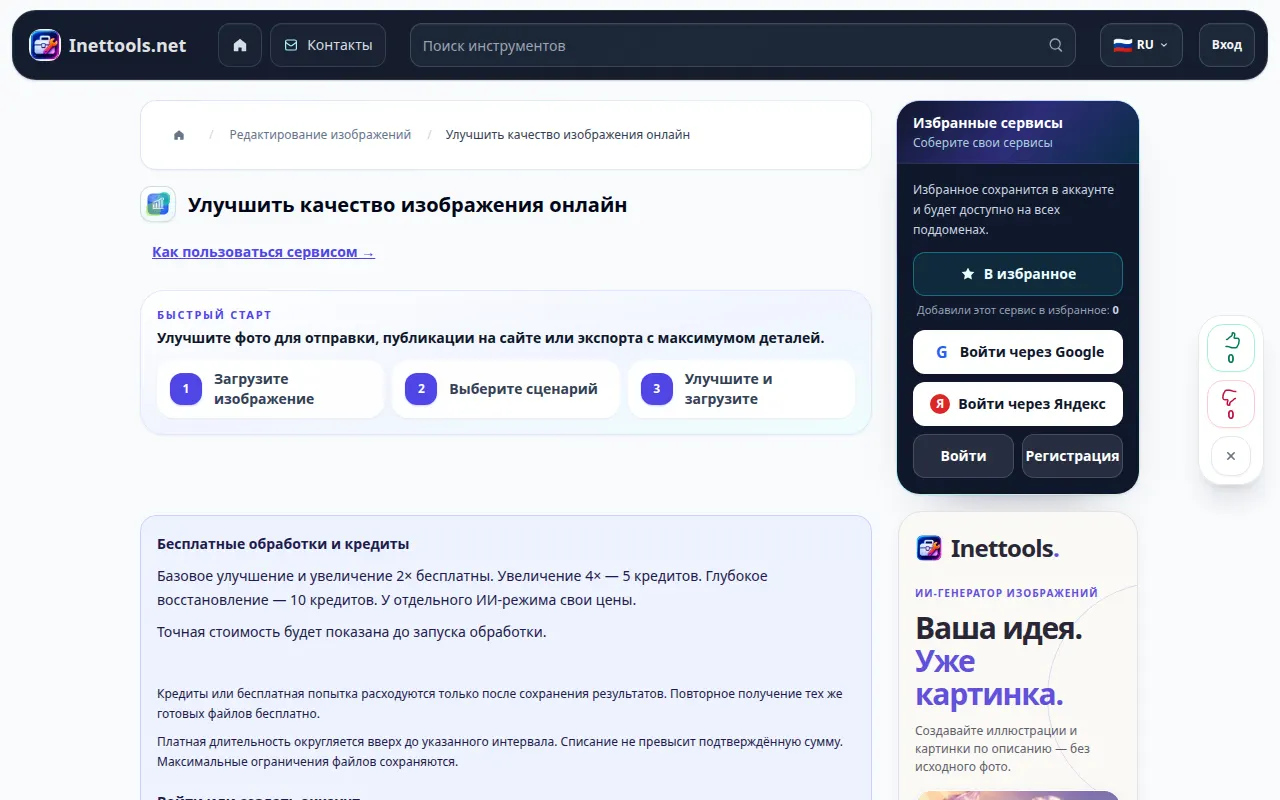
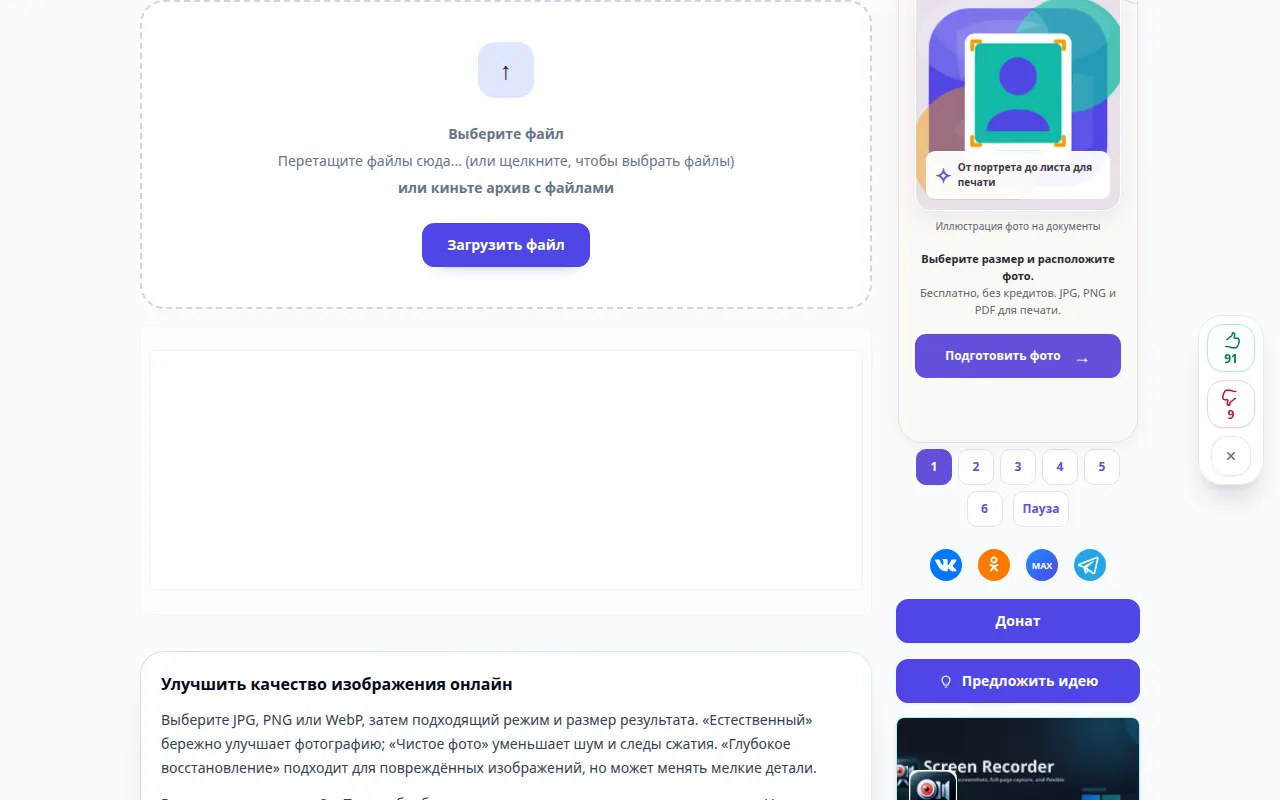
Desktop demonstration
The recording shows the Russian interface. Follow the translated steps above; the controls are in the same order. This short recording shows file selection and settings before processing. The steps above explain how to start processing and save the result.
Phone demonstration
The recording shows the Russian interface. Follow the translated steps above; the controls are in the same order. This short recording shows file selection and settings before processing. The steps above explain how to start processing and save the result.
Questions and troubleshooting
Why is the action button unavailable?
The selected mode or scale may be unavailable, or the image may exceed its limits. Choose an enabled mode and supported scale, or a smaller original.
Which format should I choose?
Use JPEG for a compact photograph, PNG when you need lossless output or transparency, and WebP for compact web images if offered by the mode.
If you see a message that the service is overloaded, wait and try again later. A failed attempt does not mean that your source file has changed.