Guide updated:
Keep the part of a video that you need. Set the start and end, preview the selection and save the finished clip.
Open this guide using the “How to use this tool” link below the tool name. It includes steps, screenshots and videos for computers and phones.
Before you start
Prepare a video file and decide approximately which section to keep. Keep the original: trimming creates a separate result, and the source remains useful if you want to change the cut later.
These small files were created for this guide and contain no personal data.
Step-by-step instructions
- Open the video trimming tool, choose your source video and wait for the player to load.
- Set the start and end using the timeline or time fields. The end must come after the start and stay within the video duration.
- Preview the selected section. Check the first and last moments and adjust the boundaries if necessary.
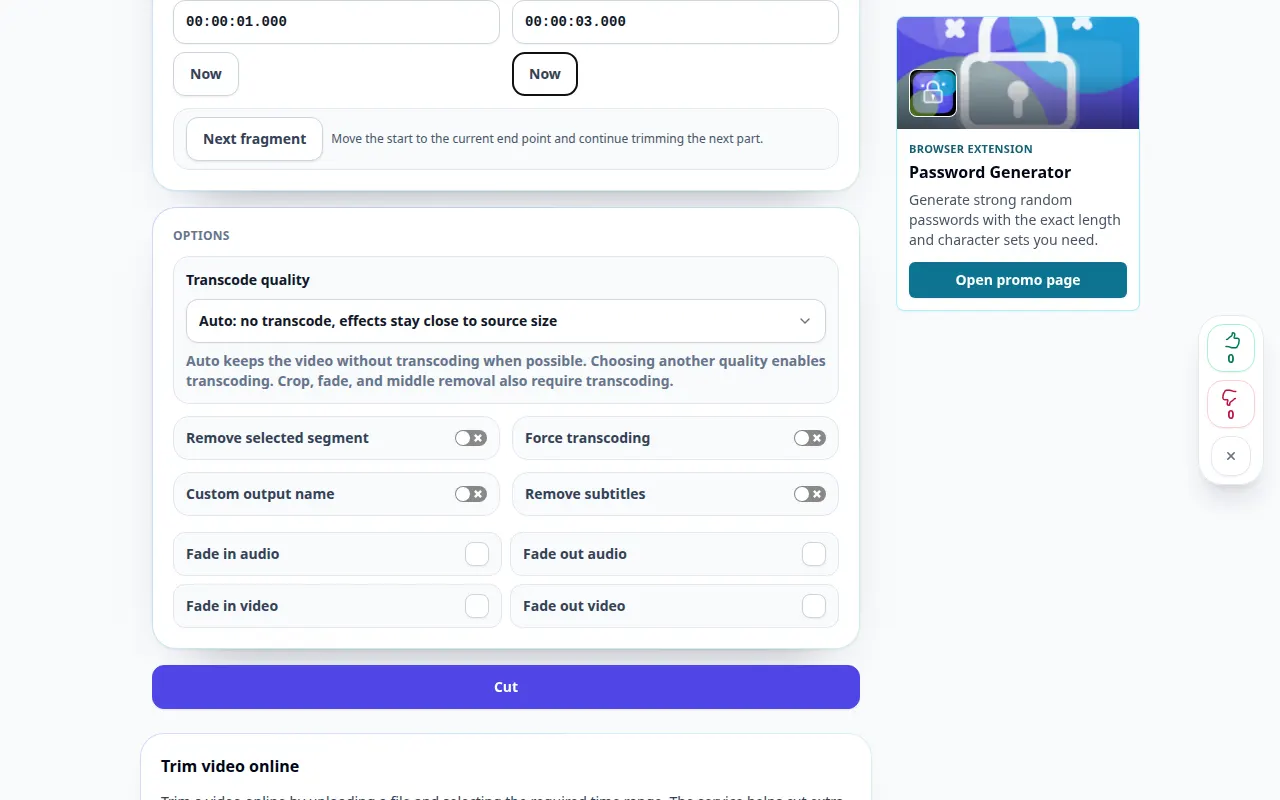
- Check any available output settings and processing confirmation, then start trimming. Wait for the queued operation to finish.
- Play the completed clip, check its duration and save it to your device.
On a computer
The time fields help with precise boundaries; the timeline is useful for finding the scene quickly. Use fullscreen if you need a larger preview.
On a phone
Tap the time fields for precise edits when dragging a timeline handle is difficult. Keep the phone awake and the tab in the foreground during preparation.
In Safari on iPhone, open the sharing menu and choose Save to Files if the result opens in a new tab. In Android Chrome, check Downloads. Keep this tab open until processing finishes.
For a better result
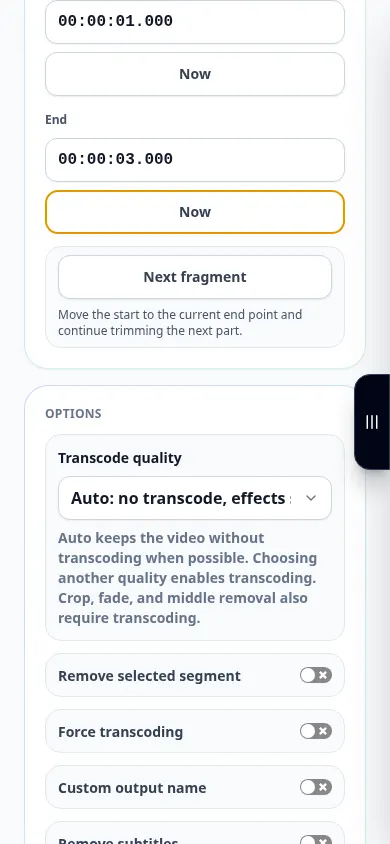
For a clip from 00:00:01 to 00:00:03, the expected duration is about two seconds. Watch the exported beginning and end rather than relying only on the markers.
Screenshots and video
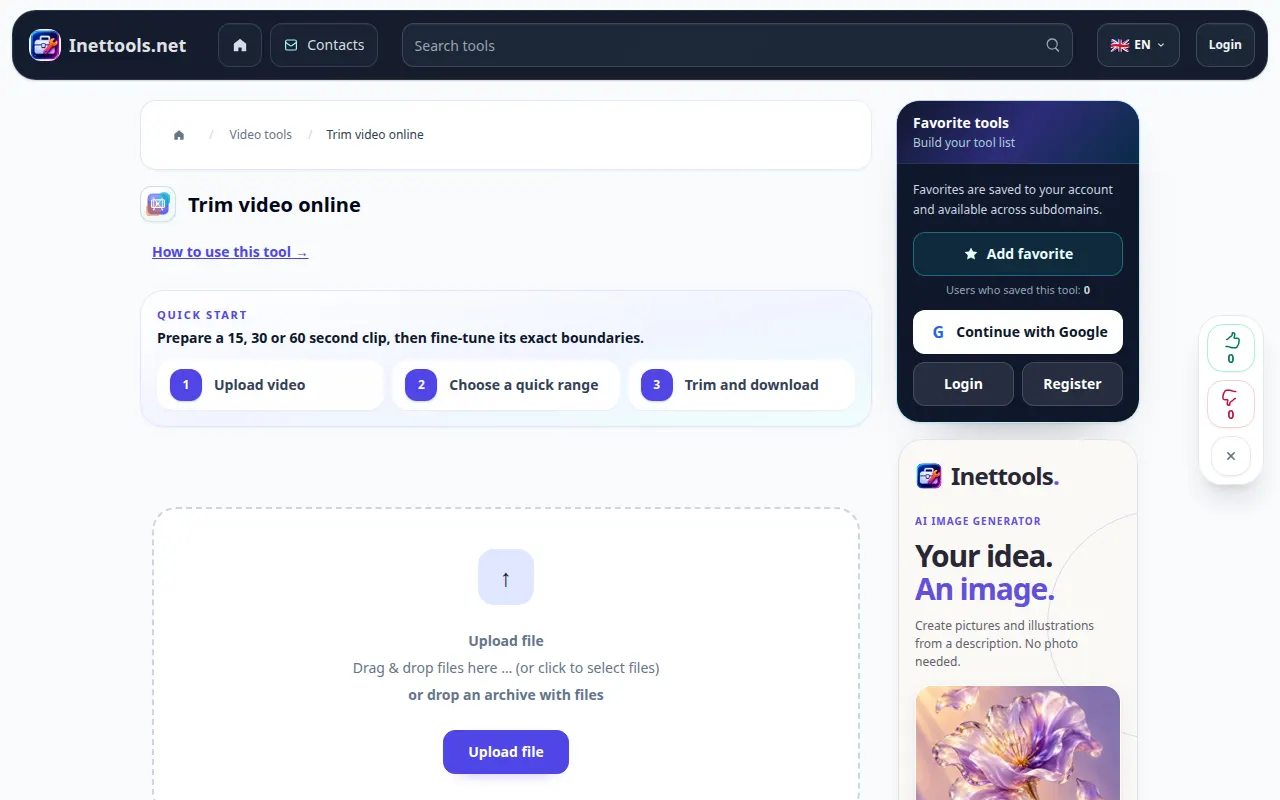
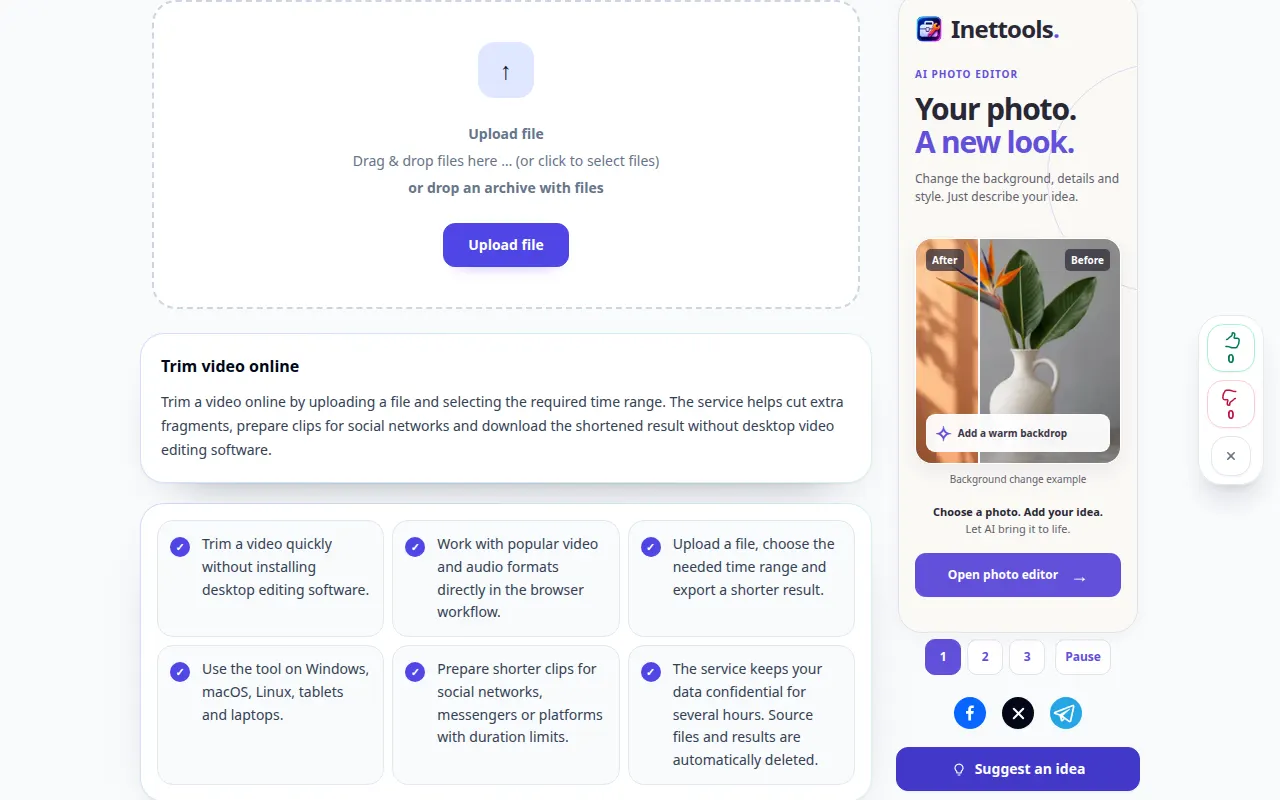
Desktop demonstration
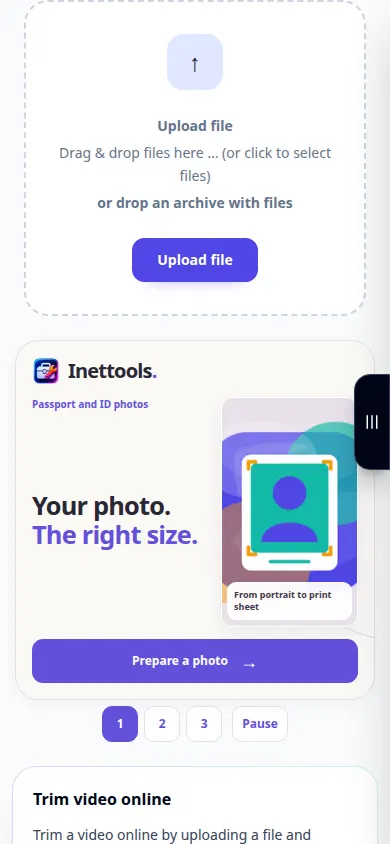
The recording shows the English interface. Follow the translated steps above; the controls are in the same order. This short recording shows file selection and settings before processing. The steps above explain how to start processing and save the result.
Phone demonstration
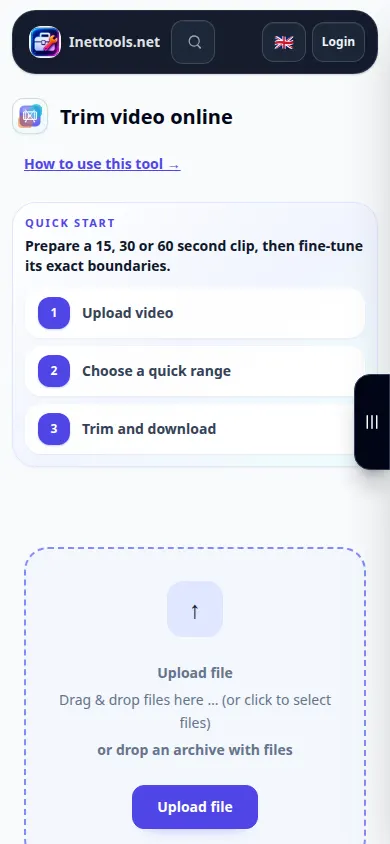
The recording shows the English interface. Follow the translated steps above; the controls are in the same order. This short recording shows file selection and settings before processing. The steps above explain how to start processing and save the result.
Questions and troubleshooting
Can the cut be a little different from the markers?
The available processing mode and source keyframes can affect boundaries. Check the exported clip and use a more precise available mode when necessary.
Why does the full original appear selected?
The initial selection may cover the whole video. Set both boundaries before starting if you only want a short section.
If you see a message that the service is overloaded, wait and try again later. A failed attempt does not mean that your source file has changed.